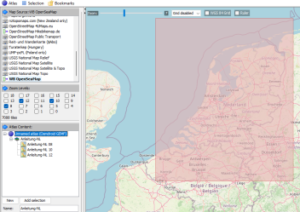
Fig.: Mobile Atlas Creator (MOBAC)
mobile A.tlas Creator (MOBAC) is a Java open source program that provides offline maps for various navigation devices. As a source for an offline map, Mobile Atlas Creator can use a large number of different online maps, such as OpenStreetMap-based maps and other online map providers. In addition to pure navigation charts for vehicles on land, charts for watercraft are also offered.
The online maps are generated from vector data and contain a large amount of individual information. Depending on the zoom level of the map, a different amount of information is displayed. Overview maps at low zoom levels contain less detail than detailed maps at high zoom levels. The zoom levels are divided into different layers (0...18). Each layer is provided with its own map material in the form of many small picture tiles (256 x 256 pixels), which are also referred to as tiles. For example, the fonts and other information are adapted to the respective resolution so that they are reasonably legible. A map consists of a set of layers with different zoom levels, and each layer in turn contains a set of image tiles that cover the map area. Overview maps with a lower zoom level get by with fewer image tiles than detailed maps with a high zoom level. Especially at the highest zoom levels, a lot of image tiles are required, which also takes up significantly more storage space. At the end you get a raster map consisting of many image tiles in the form of PNG images that were generated from vector data.
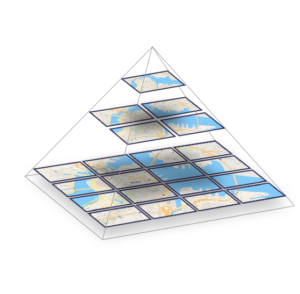
Fig. Zoom level pyramid with tiles
With MOBAC you can have offline map material produced in different zoom levels and for different sea areas. Different card types are supported. The following shows how to use MOBAC offline maps in GEMF format for AVnav created. In order to simplify the configuration of MOBAC, a map definition is provided that contains special and useful default settings for map creation.
map creation
What is needed
- the Mobile Atlas Creator (download)
- Java Runtime Environment version 11 for operating system
- The card definition
- Settings in MOBAC
- Internet connection to download the map material
After the MOBAC has been downloaded and installed, some changes still need to be made.
- The provided map definition wb-osm.xml from the ZIP into the MOBAC ./mapsources Copy directory
- In the file SETTINGS.XML in the main directory of the installation the entry for change.
"Mozilla/5.0 (Windows NT 5.1; rv:31.0) Gecko/20100101 Firefox/31.0"configuration
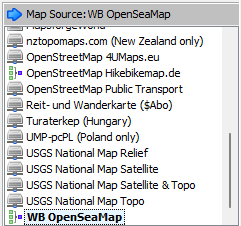
As a map we choose now WB OpenSeaMap out.
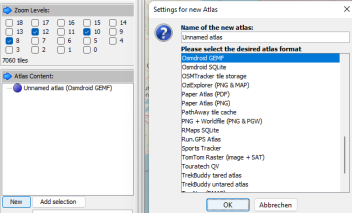
In the area AtlasContent Now let's click on NEW and choose osmdroid GEMF as target format.
First we want to create a small overview map as a test. For this we choose Zoom levels 8, 10, 12 out. For more detailed maps later the Zoom levels 8, 10, 12, 14, 16 to be chosen. There is no nautical chart material available for zoom levels less than 8 and greater than 16. So that the sea chart does not take up too much memory, it is sufficient to select every second zoom level. Intermediate levels are interpolated by AVnav.
Now we choose from the main menu Selection -> Selection Mode -> Rectangle out.
Navigate to the appropriate section on the map and set the zoom level so that the desired area is visible.
Here I did that for the Netherlands.

Now use the mouse to mark the rectangle for the map section, define a name and then click on Add selection. For the first tests, the map area should not be too large, as the map may require a lot of storage space. If you want to get an overview of how much storage space the maps are using, you can use the Tile Calculator use. It quickly becomes clear that a large amount of storage space is required at high zoom levels.
For later, more detailed maps, the polygon selection be used. In this way, you can better adapt the map data to the actual conditions and do not have to download an unnecessarily large amount of data. This is particularly interesting for rivers and coastal regions. The polygon selection limits the maps to areas that are actually navigated and saves the server capacities that are provided voluntarily and free of charge, but have to be paid for in real life. Therefore, be economical with the creation of maps and only create the maps that you actually need.

Now you can take the card with you Create Atlas to be created.
A dialog box opens in which the progress is displayed. After all required tiles have been loaded, the map is created.
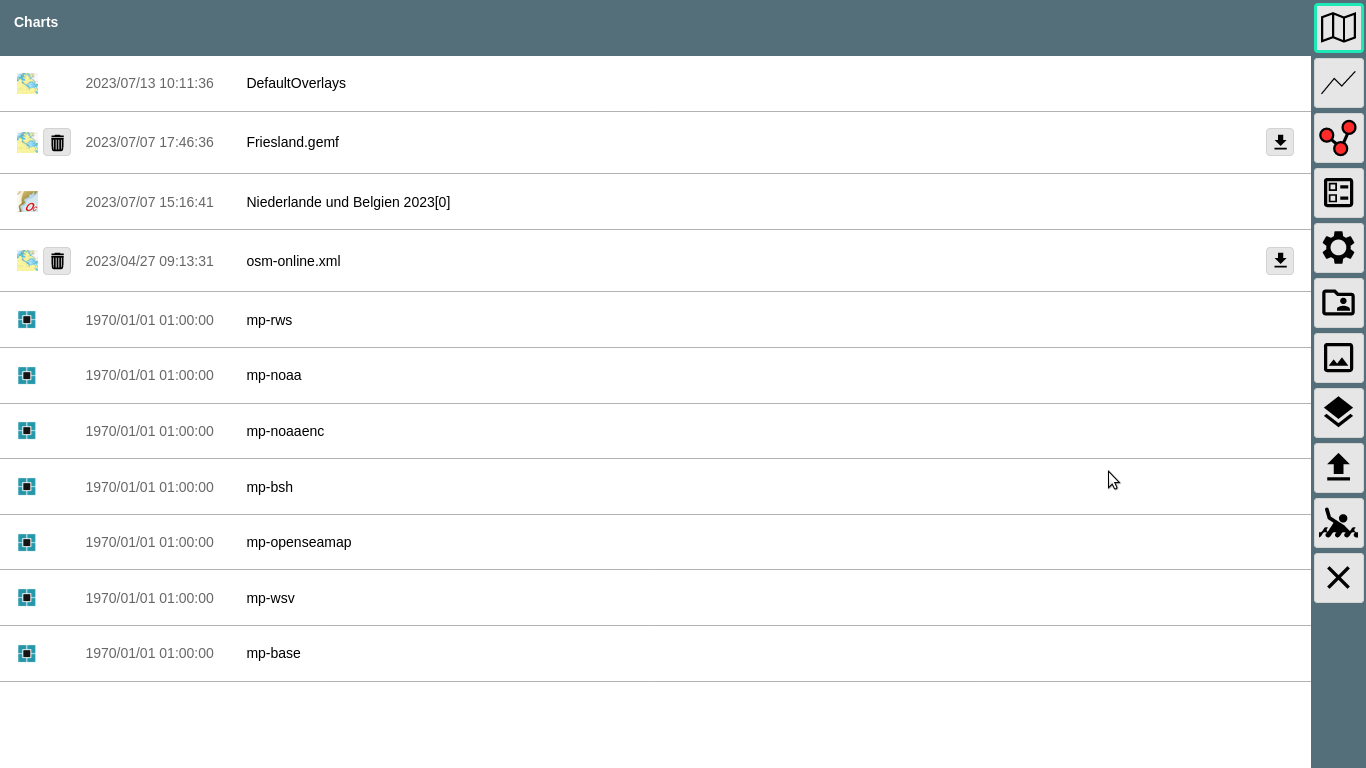
In the end it looks like this for my example. About the button Open Atlas Folder you come directly to the generated map.

The map in the form of a *.gemf file can now be copied 1:1 to the AvNav system. In addition to the gemf file, the MBTiles data can also be found in the atlas directory. It is sufficient to just copy the *.gemf file to AvNav. To do this, go to the home page and then press the button with the down arrow. Then press the map button. Now you can upload your map to AVnav using the button with the up arrow. You will then see the map in the chart repository.