The flow of configuration for data integration in Ubidots looks like this:
- Login to Ubidots
- Create a plugin for webhook at Ubidots
- Set up webhook at TTN V3
- Checking the webhook functionality
Set up Ubidots login and plugin for webhook
In order to be able to transfer the received LoRa data from TTN to Ubidots, we need a plugin for data reception for a webhook setup in ubidots. A webhook is a type of real-time data forwarding. Every time data from the boat monitor arrives at TTN V3, it is forwarded directly to Ubidots. For data transmission from TTN V3 via webhook we need the API key from Ubidots and some other data. The first thing we have to do is create a free account at Ubidots. To do this, we register via this website:
When the account has been created, we can click on the round logo on the top right API credentials walk. A line with the API key then appears in the upper area.

Fig.: Ubidot's API key
We can display this key by clicking in the field. The API key can be copied to the clipboard using the button to the right. The API key should look something like the one shown below. We'll save this key for later. It is required when setting up the webhook on TTN V3.
BBFF-77fdf9bd902ab9c46b47529ab2dbe6871 (Please, do not use! Demo only)
After that we generate ourselves over Devices -> Plugins a new plugin for a webhook via the right green plus button and select The Think's Stack out.
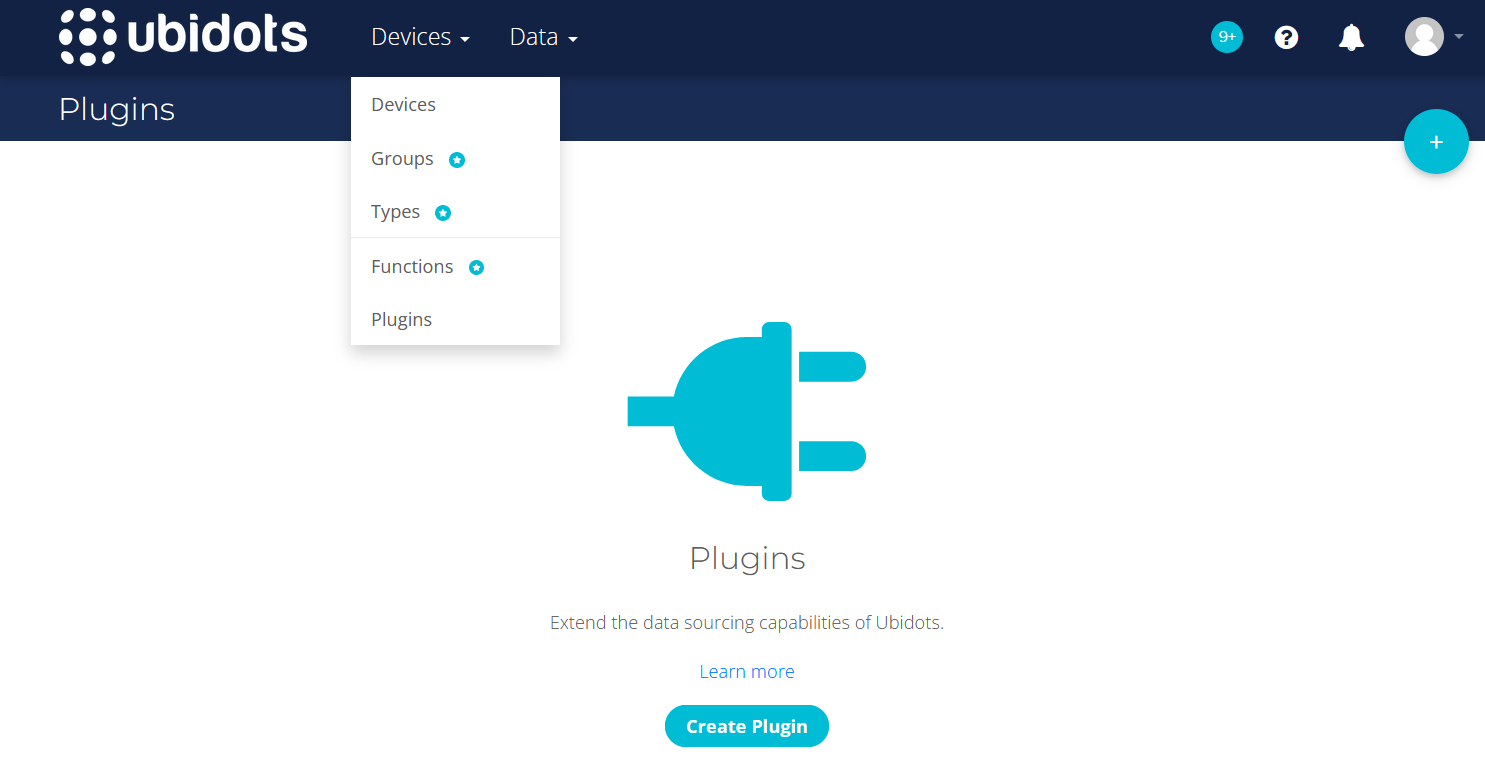
Fig. Add plugin
In the configuration sequence that follows, under Ubitot's token the default token to select. In the end, a plugin for TTN V3 was created that provides rudimentary functions and still needs further configuration.
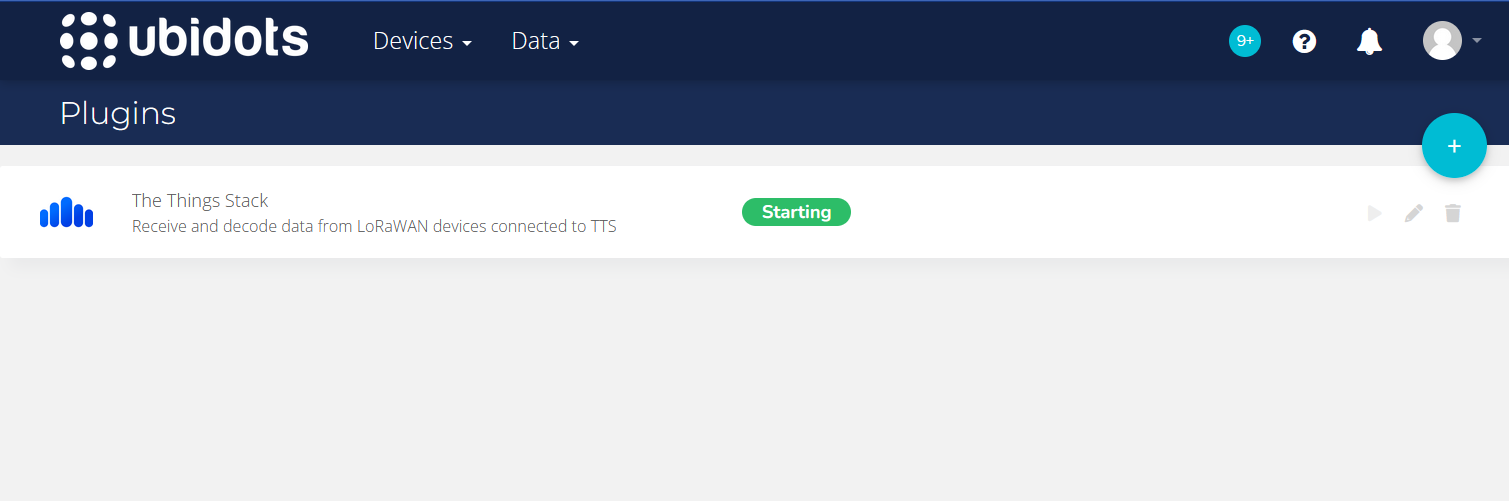
Fig. Created plugin
Next we open on the created plugin The Things Stack and choose on the left Configuration out.
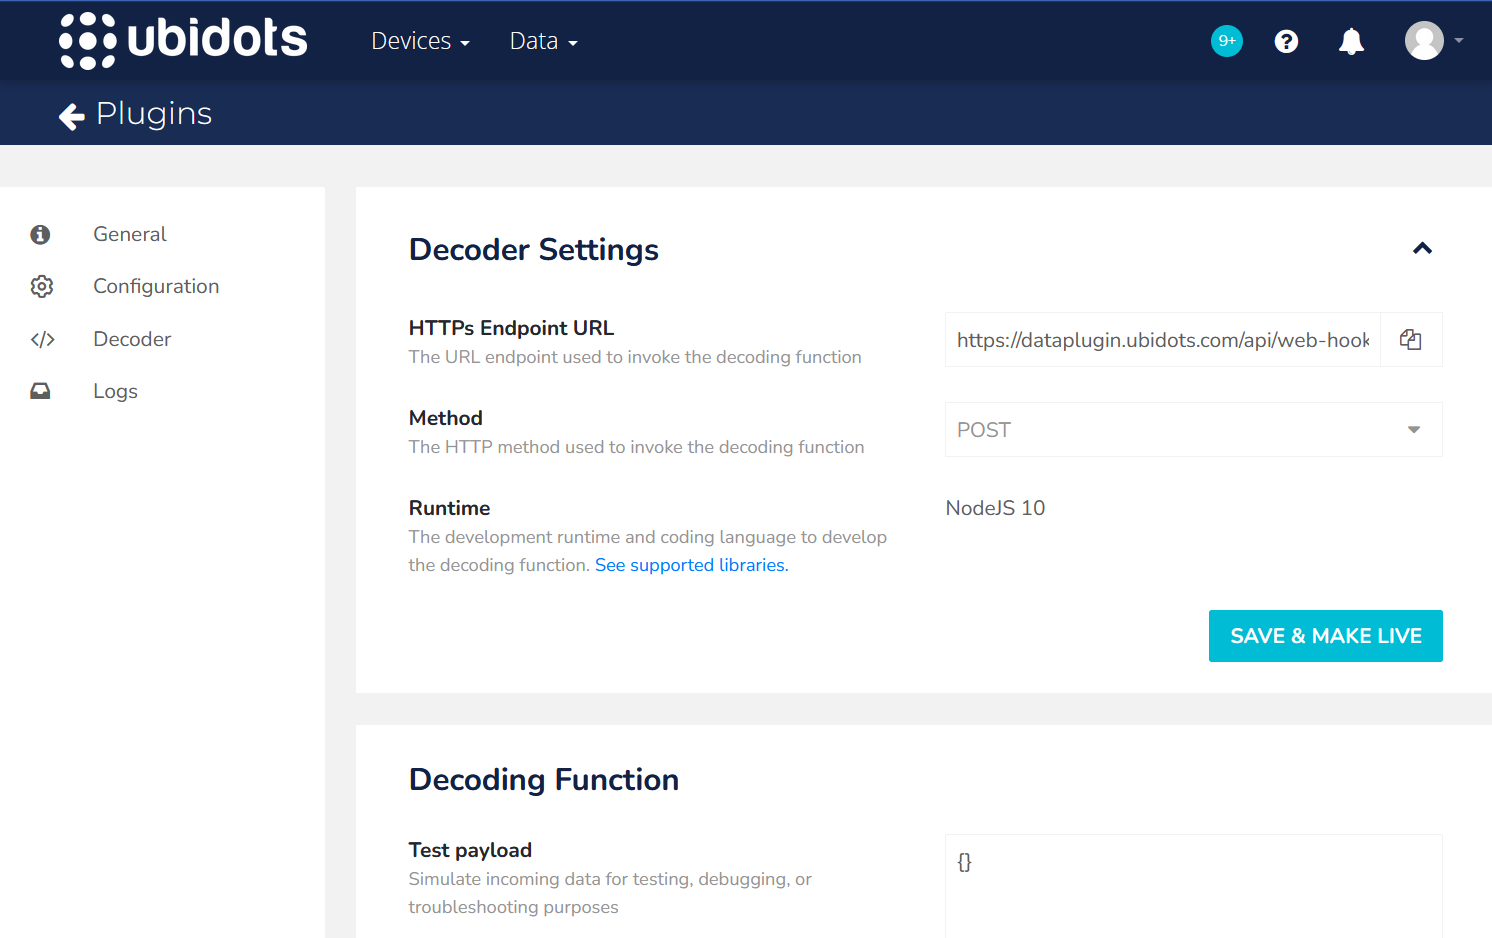
Fig. Plugin Configuration
Then we'll copy it HTTP's endpoint URL. Be sure to copy the entire string. It should then look like this:
https://dataplugin.ubidots.com/api/web-hook/J1j4ndx_tnHGYPCZlsfSkT45dh=
We split this string into 3 parts:
Webhook Base URL: https://dataplugin.ubidots.com
Webhook endpoint folder: /api/web hook/
Webhook Customer ID: J1j4ndx_tnHGYPCZlsfSkT45dh=
We remember the last part, because we need it later when setting up the webhook.
Then we still need the correct one decoding function Enter for the LoRa boat monitor. With the decoding function, the data from TTN V3 transferred by the webhook is processed in such a way that the measured values become visible again. This is again exactly the same as the payload formatter in TTN V3. This time we need it again because TTN V3 only sends raw data and we have to do the decoding again at Ubidots.
Scrolling to the bottom of the page brings you to a JavaScript code entry window. Delete all code and replace it with the content this file.
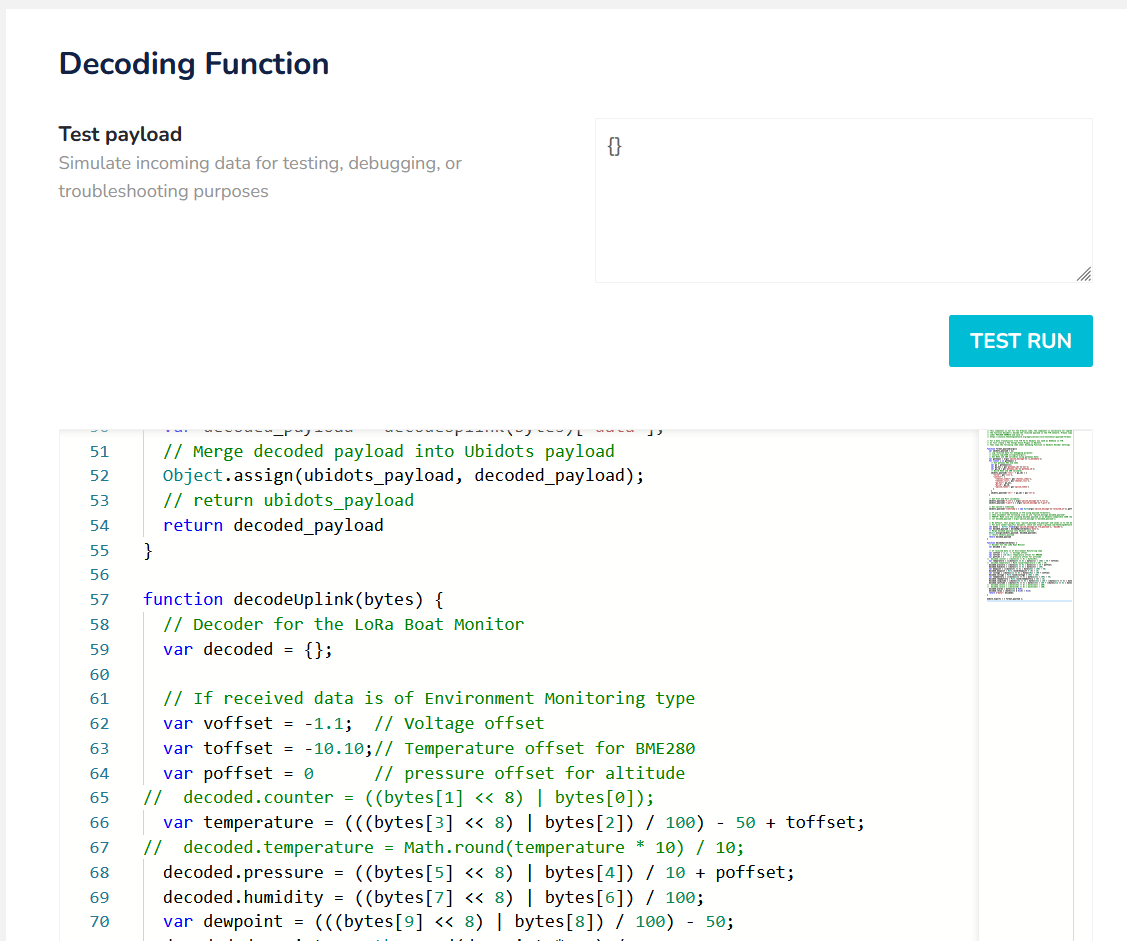
Fig.: Decoding function
After that, the changes must be made via the green button Save & Make Live saved and activated. This completes the plugin configuration in Ubidots.
Set up webhook at TTN V3
At this point the webhook for Ubidots is set up at TTN V3. The webhook forwards the incoming data from the boat monitor at TTN V3 directly to Ubidots each time.
Next, we switch to TTN V3 and log into the console there:
https://eu1.cloud.thethings.network/console/
Then we pass Applications to our created application LoRa Boat Monitoring and click in the left selection area integrations on.
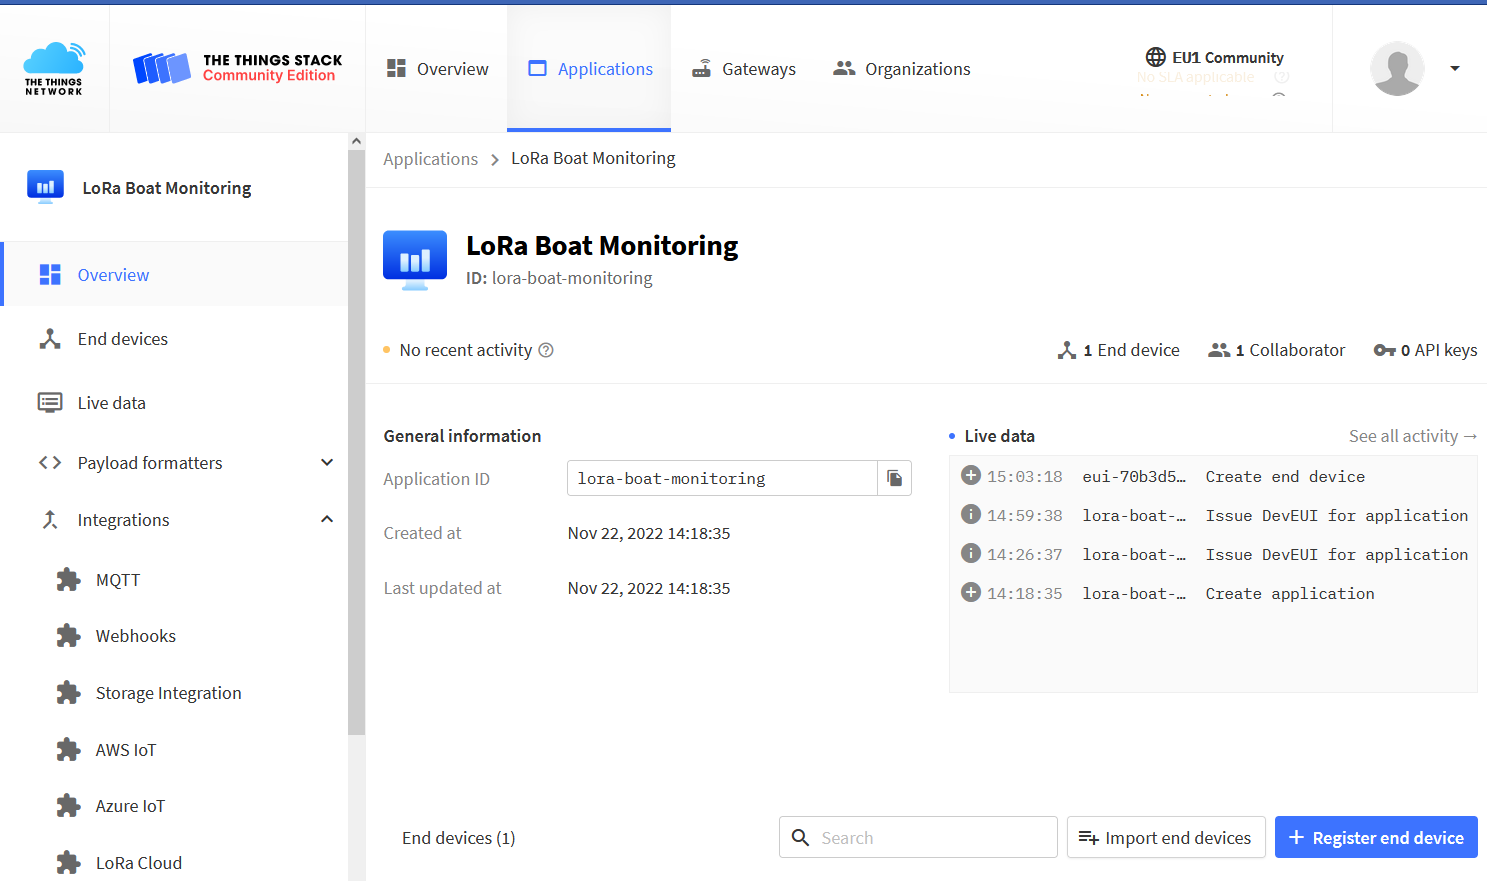
Fig.: Integrations
If we click left in the selection area webhook Clicking takes us to a page where we can create a new webhook with the right blue button Add Webhook can create.

Fig.: Create webhook
On the page that opens, we choose at the bottom Ubidots and then enter the following data in the configuration page:

Fig.: Configure webhook
For the Webhook ID we assign a meaningful name. Pay attention to lower case and only use hyphens. the Plugin ID is the third part of the string that we previously created in Ubidots and then decomposed (J1j4ndx_tnHGYPCZlsfSkT45dh=). The Ubidots token is the token created when the account was registered (BBFF-77fdf9bd902ab9c46b47529ab2dbe6871).
Finally, the data entered is saved using the button Create Ubidot's webhook saved. In the end everything should look like this. the webhook is now set up.
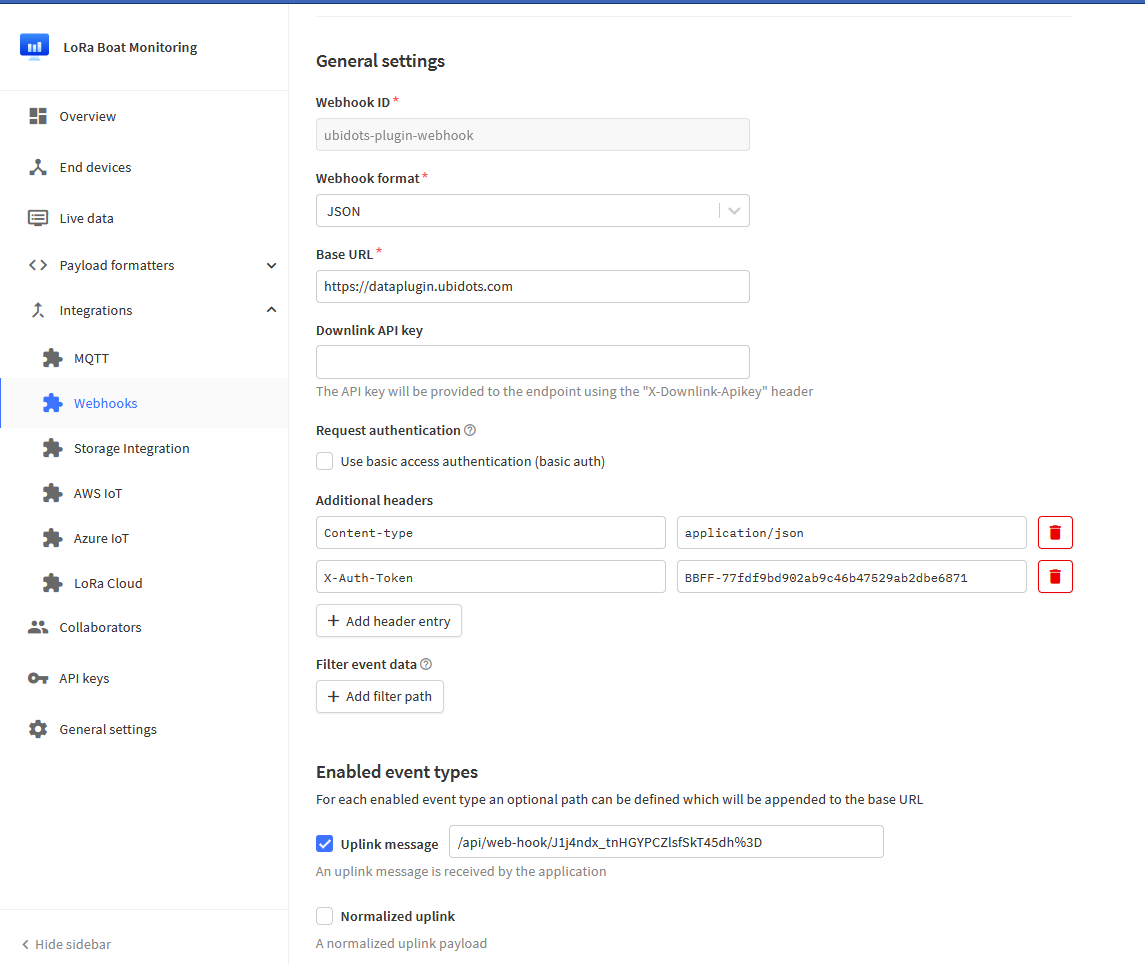
Fig.: Completed webhook
Checking the webhook functionality
As soon as data from the LoRa boat monitor arrives at TTN V3, this data should appear on the page End Devices be visible under the respective device. Under live data the incoming telegrams are listed.

Fig.: Device Live Data (currently without data)
If data arrives from the LoRa boot monitor then the status of the webhook should be of pending on Healthy switch and be marked with a blue dot.
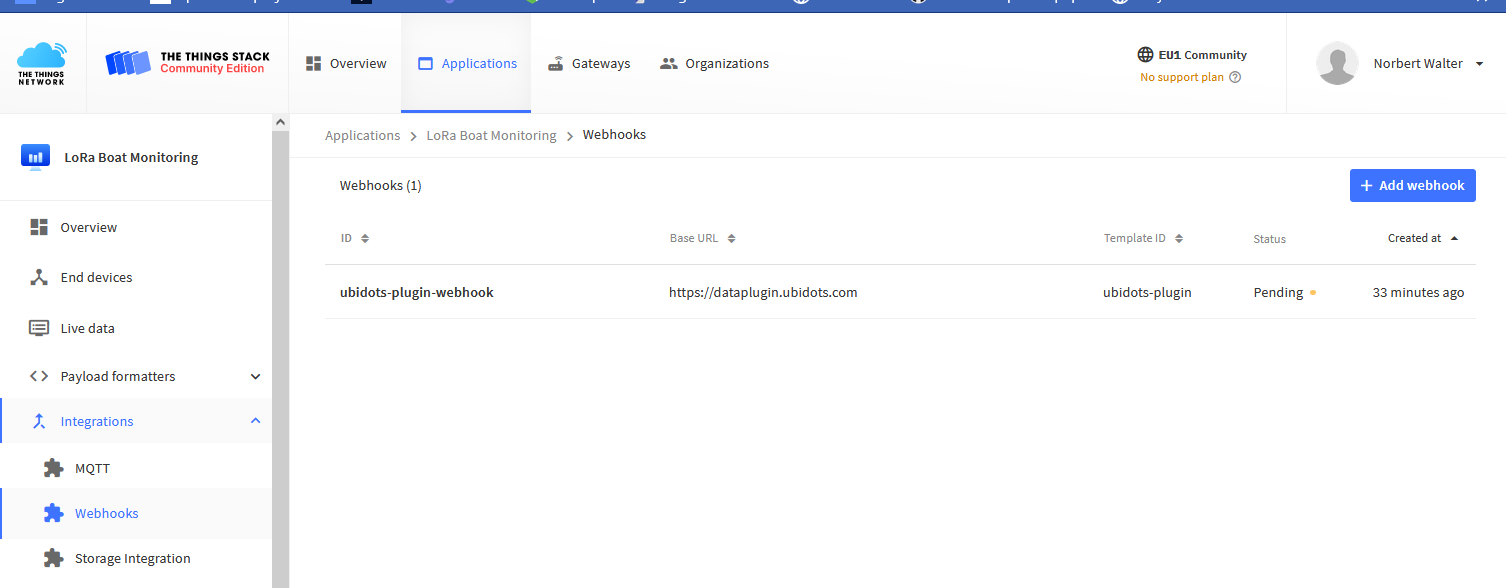
Fig: Webhook Status
A new device is automatically created in Ubidots when data is forwarded from the LoRa boot monitor from TTN V3 to Ubidots. The device then bears the name with the device EUI as it was created in TTN V3 (eui-70b3d57ed0057bad).
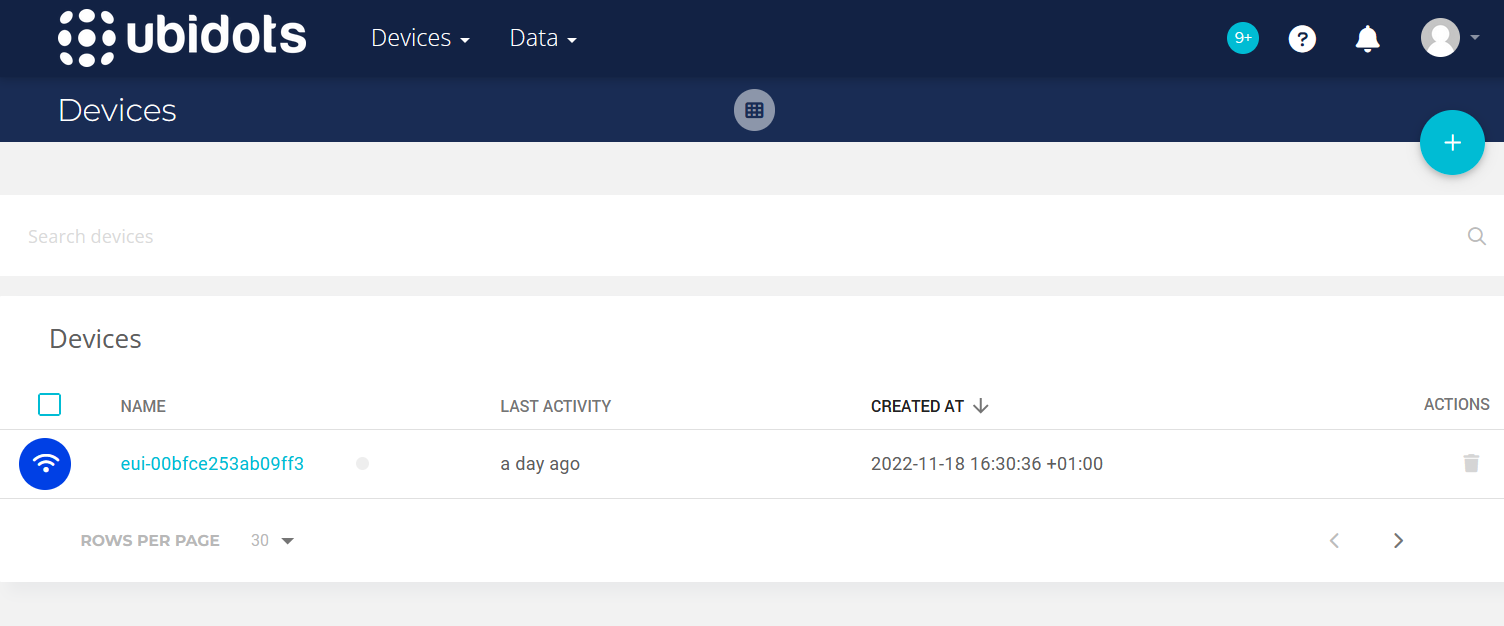
Fig.: Ubidots Device Status (another device is listed here)
If you click on the device name, the data transmitted by the boat monitor is displayed in short form. The field LastActivity indicates the time of the last data input.
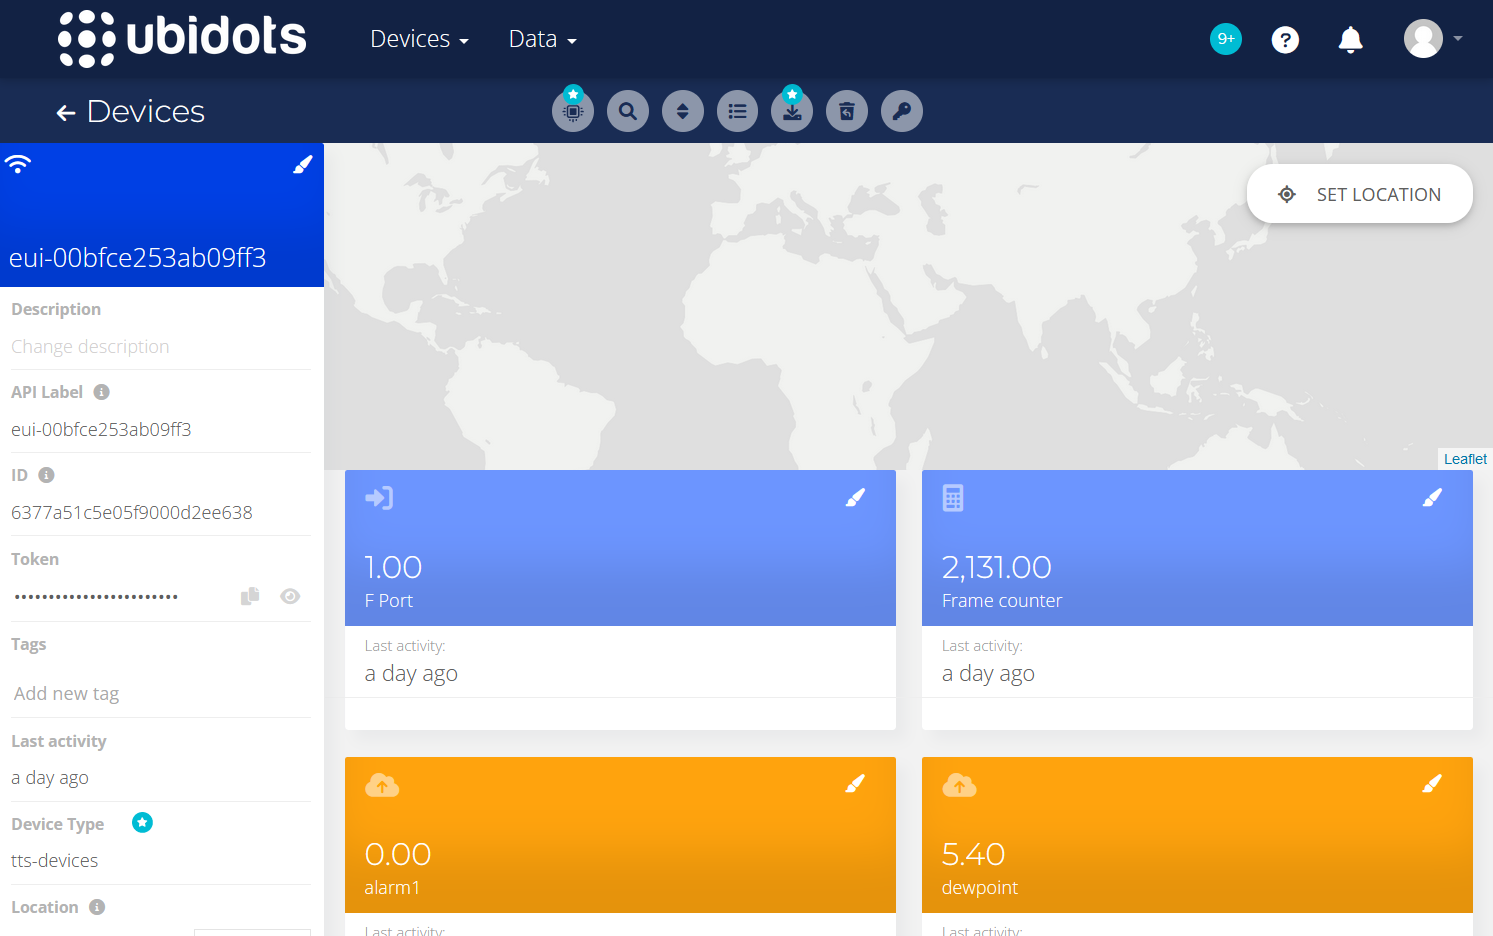
Fig.: Device data
If the data has arrived correctly at Ubidots, the verification is complete.