In order for data to be processed in the LoRa TTN V3 network, an application must first be created. The LoRa boot monitor is then created as a new device, then assigned to the application and a payload decoder is entered. These instructions describe how to proceed.
Create application
First you create a new account in the LoRa TTN network.
https://account.thethingsnetwork.org/users/login
Fig.: User login
Then the region in which you want to operate the LoRa gateway is selected. Only Europe can currently be selected. All data flows through the gateway in Dublin, Ireland.
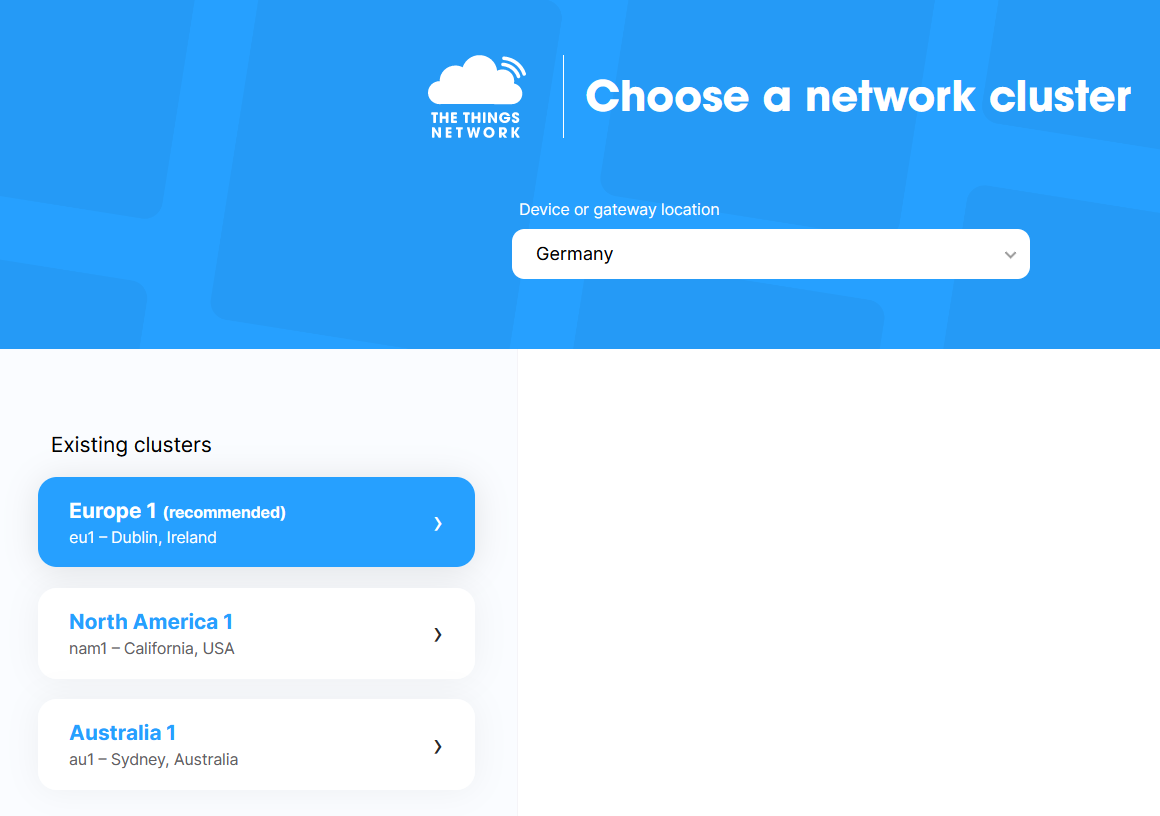
Fig.: Region selection
You then get to the main menu.
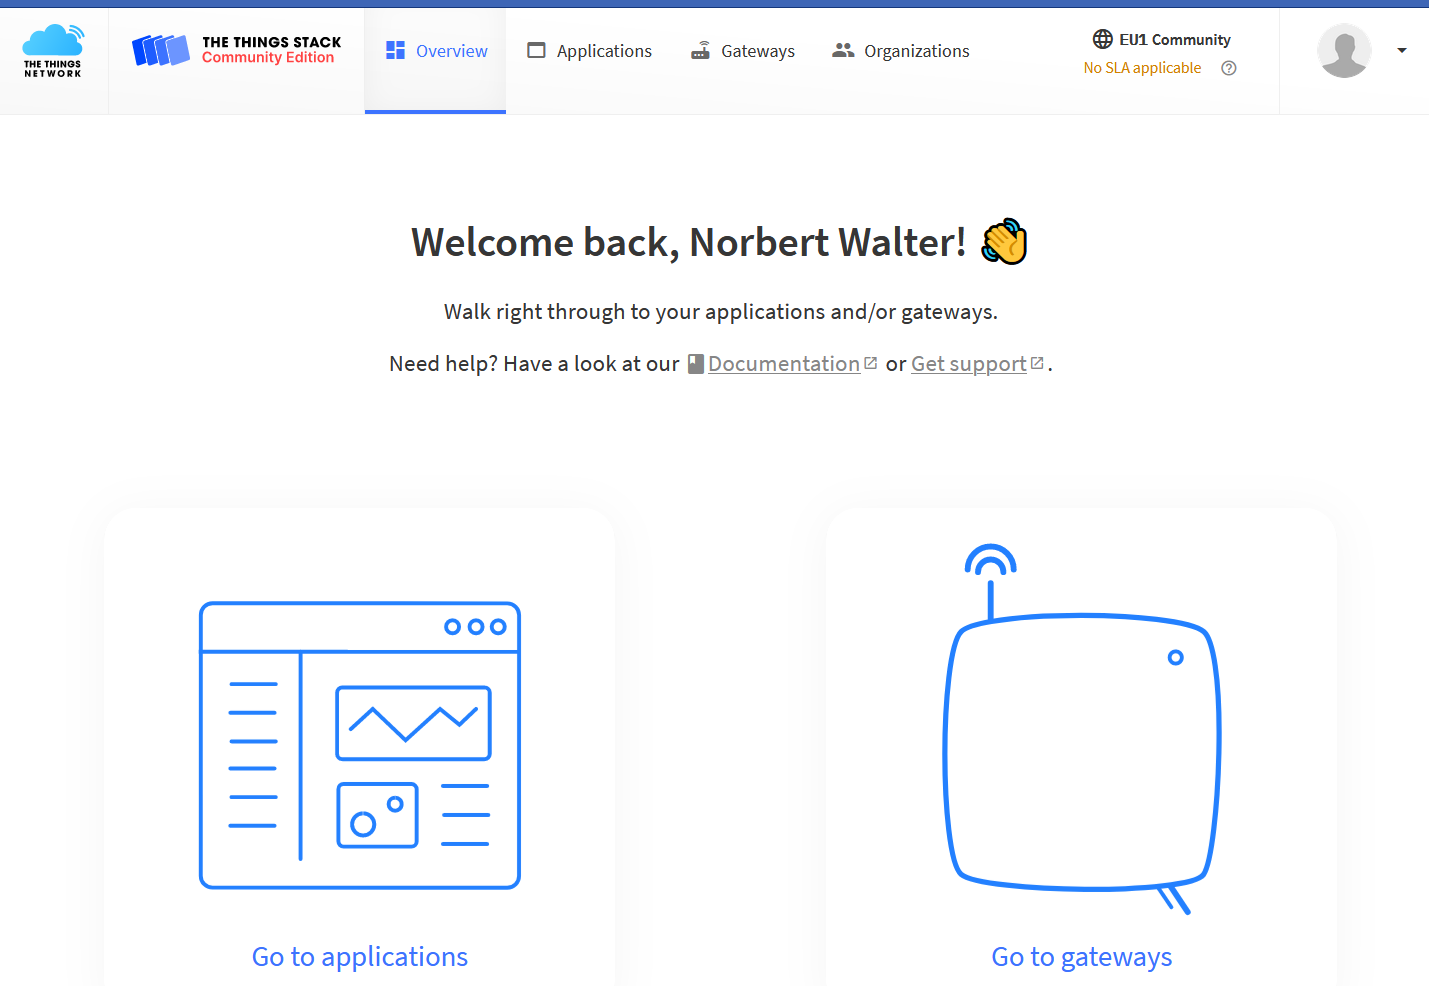
Fig.: TTN V3 main menu
A new application for the LoRa boat monitor is created via the Application tab.

Fig.: Create application
Register device
Now the LoRa boat monitor can be used as a device via the blue button End device register be registered at the bottom right. The device is manually registered as a LoRa device via ABP (Activation By Personalization).
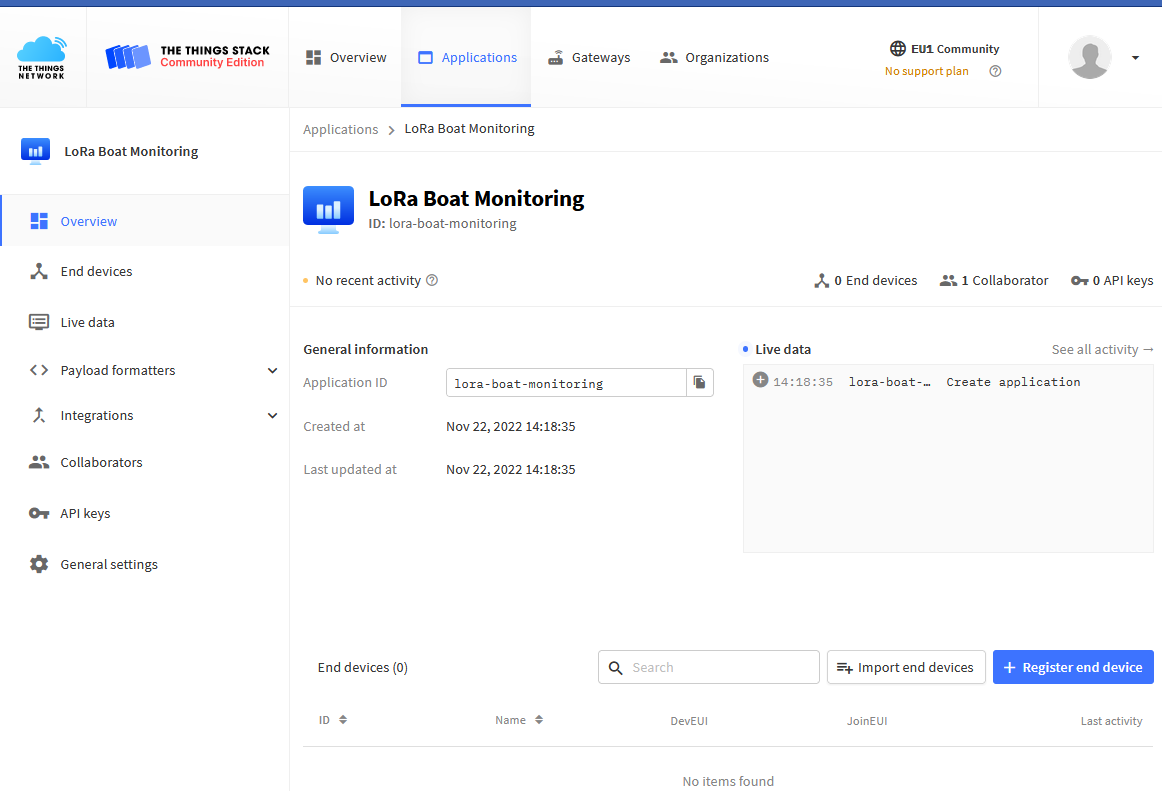
Fig.: Register device
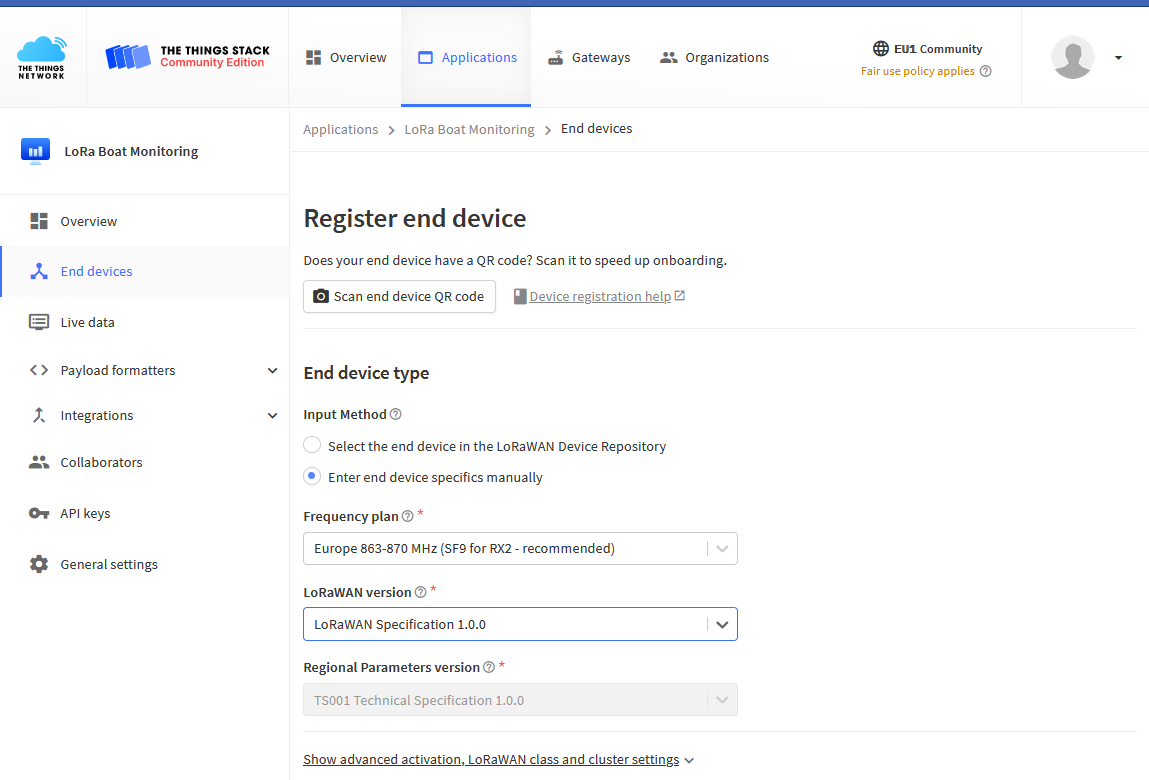
Fig.: Device-specific settings
We require manual registration and need the option Enter end device specifics manually activate. Under frequency plan got to Europe 863-870MHz (FS9 for RX2 – recommended) to be chosen. as LoRaWAN version becomes LoRaWAN Specification 1.0.0. selected
Under Show advanced activation, LoRaWAN class and cluster settings the field must be opened in order to be able to make further special settings. It definitely has to be the select box Activation by personalization (ABP) to be activated.
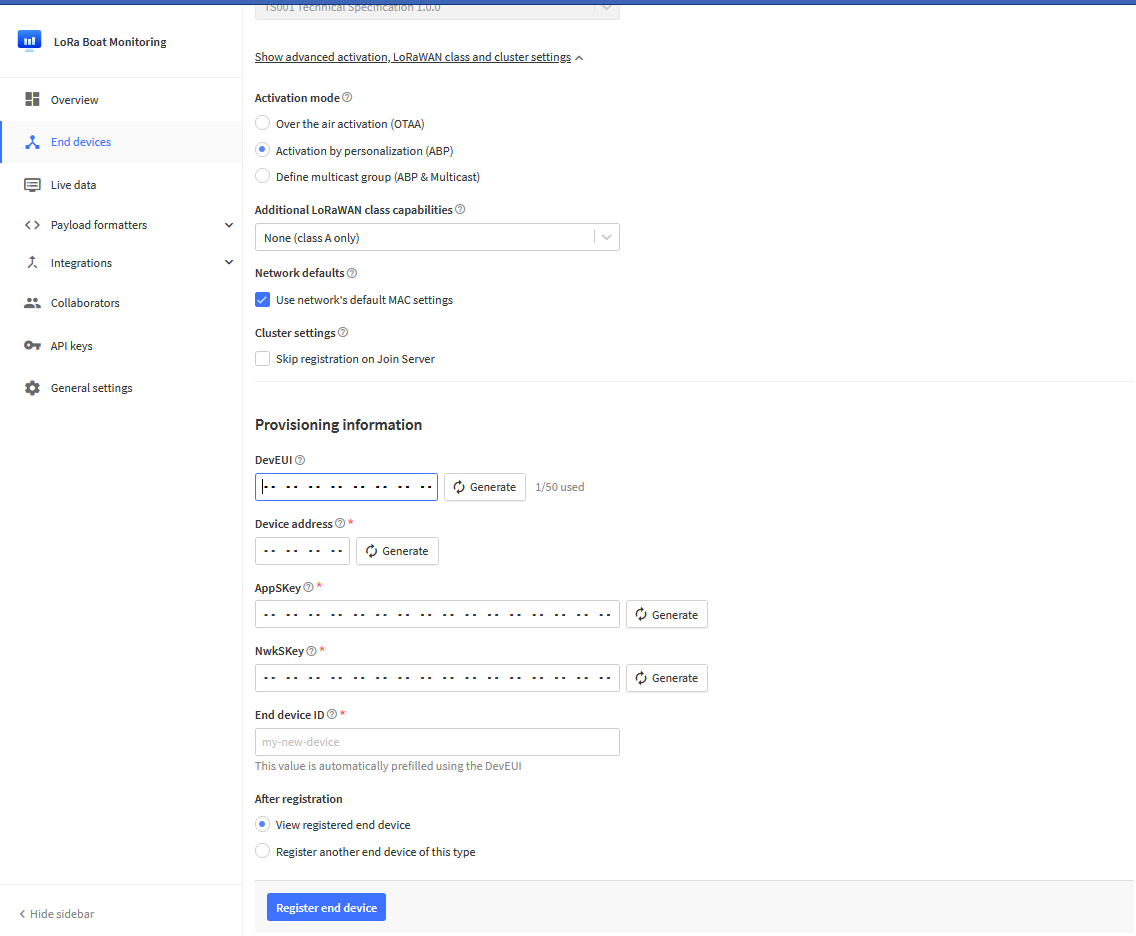
Fig.: LoRa Settings
Behind all fields that are commented with dots, the generate button to be pressed. This gives the fields randomly chosen values that correspond to unique keys. It is best to print out this page, because the values are required in the next step but one for configuring the LoRa boat monitor. The page should then look like the image below. Note that you do not use the values shown for your own LoRa boat monitor. You should see different values.
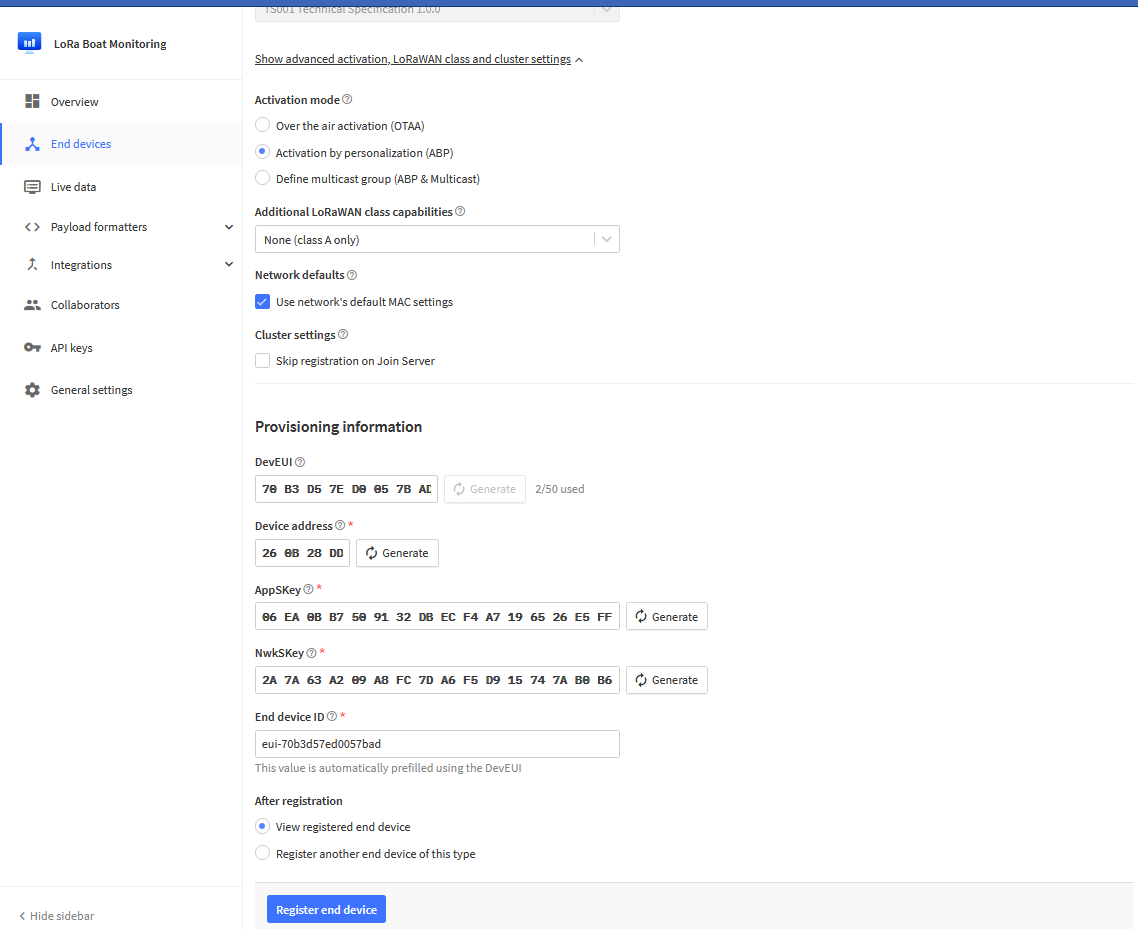
Fig.: LoRa Settings
After that, the blue button End device register be pressed. An overview of the registered device then appears.
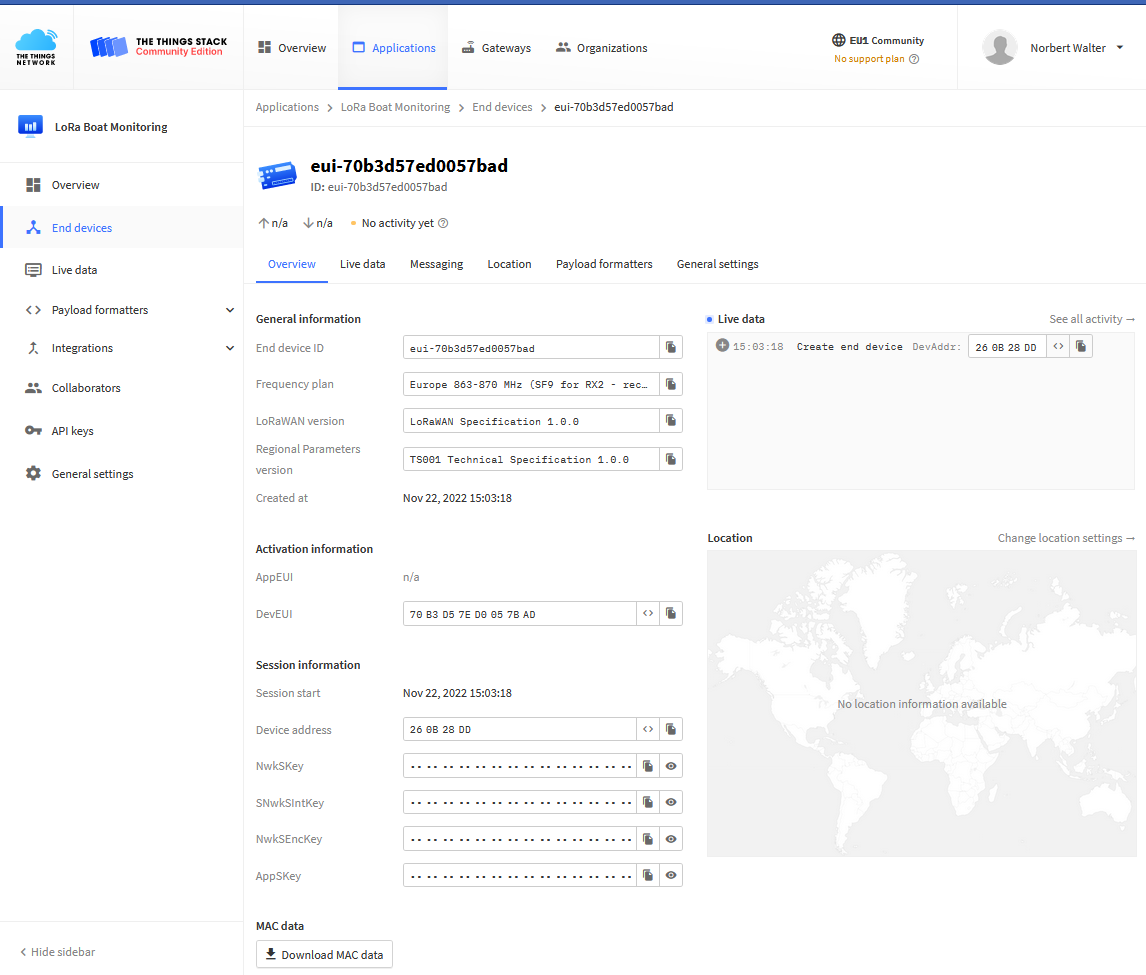
Fig.: Overview
Next, further special settings for the LoRa transmission must be made. This is the tab general settings, on the right half of the image (not on the left!). Under End device name and End Device Description entries can be made for the boat. This is how the LoRa boat monitor can be assigned to a boat.
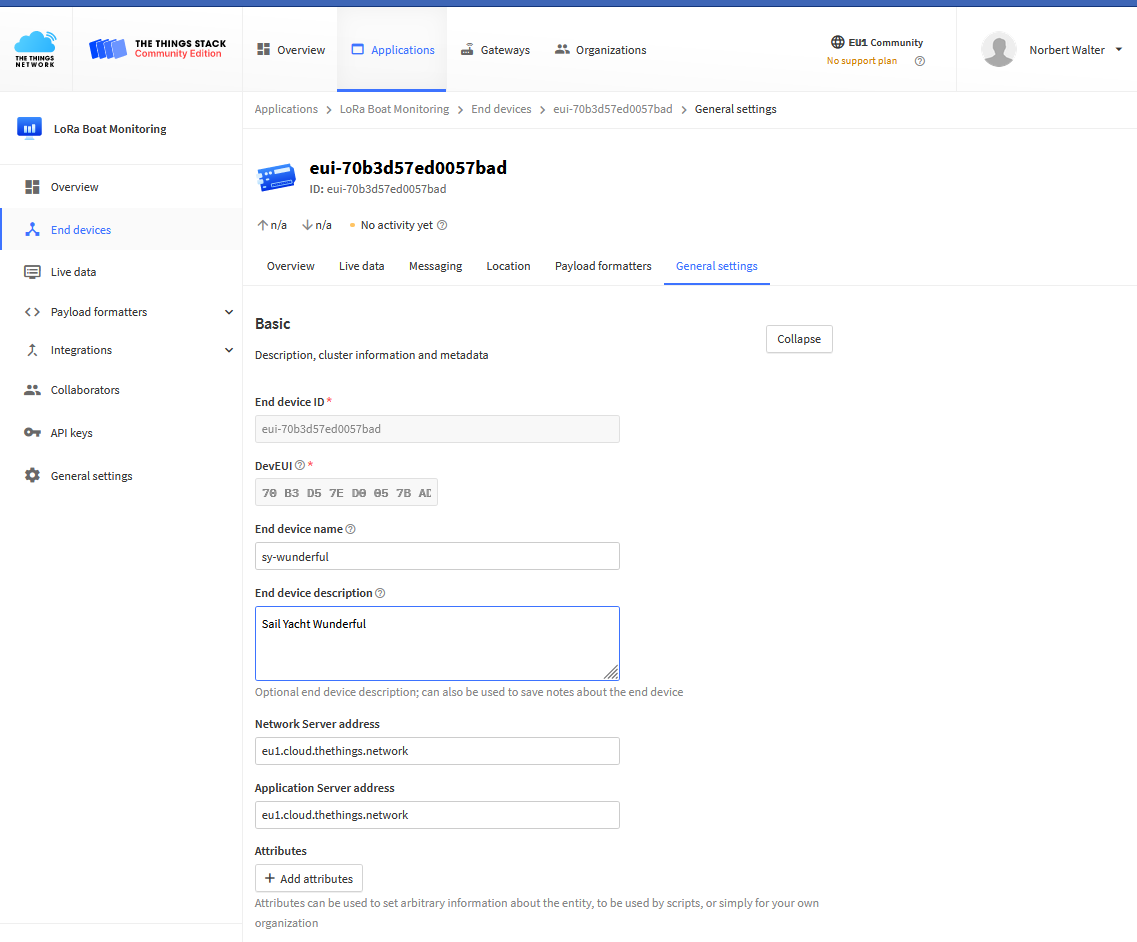
Fig.: General Settings
Then scroll down to the option network layers and opens the other settings via the button Expand. In the advanced settings there is an inconspicuous selection field at the bottom Advanced MAC Settings.

Fig.: Network Layer
This is to open and the value Frame Counter With on 16 to deliver, Reset frame counter to activate and the Adaptive Data Rate (ADR) to disable.
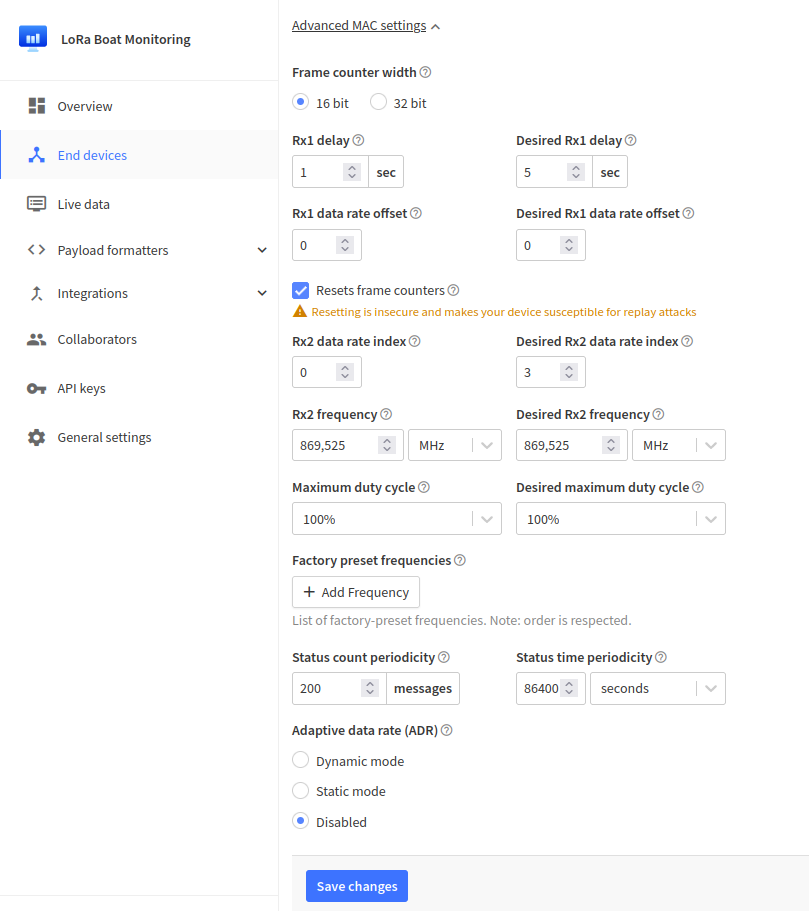
Fig.: Advanced MAC Settings
After that, all settings must be made with the blue button Save Changes get saved. This completes the device registration.
Create payload formatter for the uplink
The LoRa network is used to transmit small amounts of data via radio with up to 200 bytes per telegram. The data is transmitted in compact form as a series of bytes. Each bit of the byte sequence has a precise meaning and represents the transmitted measured values. The LoRa boot monitor transmits exactly 40 bytes of data. With the help of the payload formatter, the respective bits are converted back to measured values. The payload formatter is a description of how the measured values are composed of the bits. the meaning of the bits can be looked up here.
There are basically two types of payload formatters. Once for the uplink from the LoRa device to the TTN network and once again for the downlink from the TTN network to the LoRa device. Since we mainly transfer data from the LoRa device to the TTN network, we only need to create a payload formatter for the uplink. A payload formatter can be created for all devices in an application or just for a special device. In our case we only use the Payload Formatter for our LoRa device.
To do this, we select below application our previously created device and go to the tab in the right half of the screen Payload Formatters (not left!). There we select the tab uplink out and put the formatted type on Custom JavaScript formatter. in The Field formatted code we delete the entries and add the complete contents of the file Payload_Formats_TTN_V3.h a. The changed settings are then available via the blue button Save Changes save.
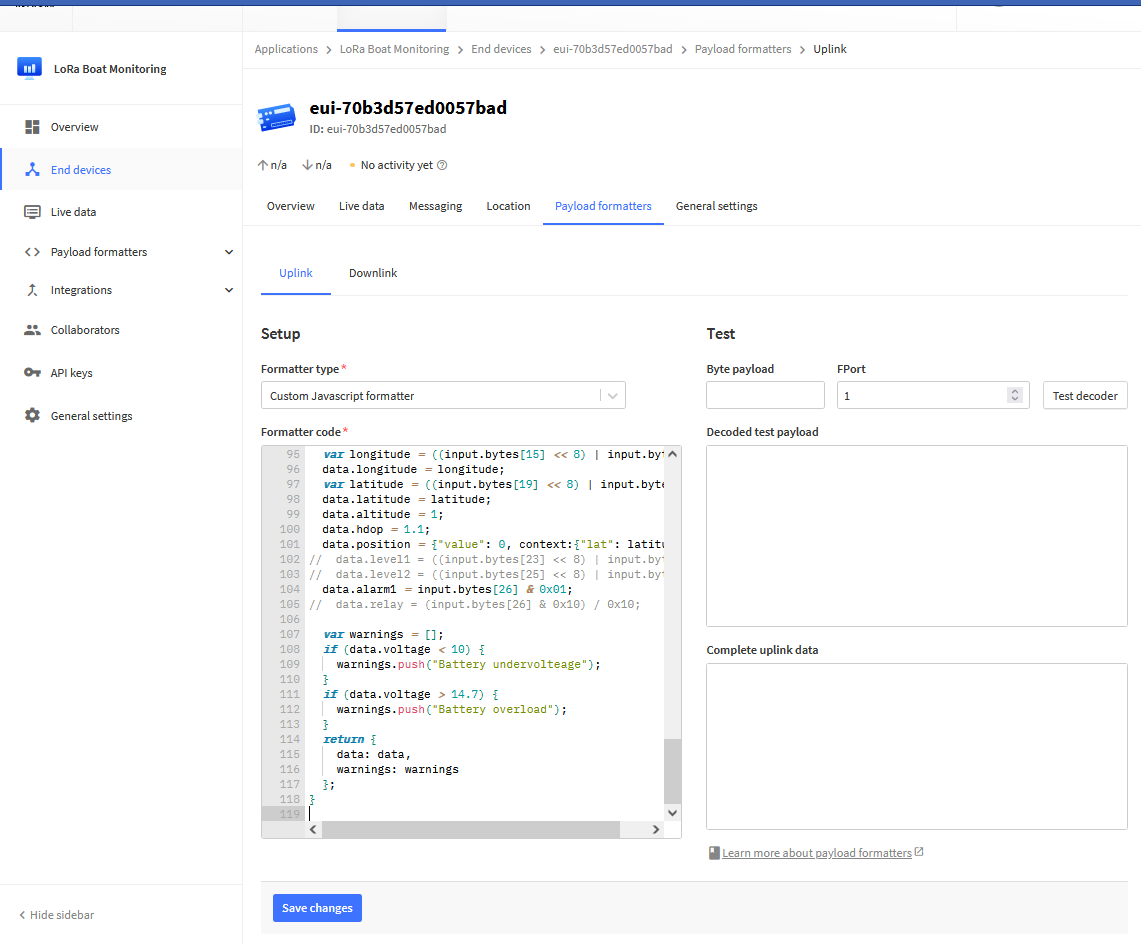
Fig. Payload Uplink Formatter
Now everything is set up in TTN V3 for LoRa boat monitor data reception.
Checking incoming LoRa data
If you use the data generated above for Device ID, Network session key and Application session key in the web configuration of the LoRa boat monitor and reset the device, you should see transmitted LoRa data when you click on the left live data go. The incoming data is then displayed chronologically and you can see the LoRa data decoded by the Payload Formatter in plain text. Depending on the set data rate, data regularly arrives in the TTN network.

Fig.: Live data of the LoRa device